

I still remember a time when being a princess didn't entail having a specific name, hair colour, dress and prince. Being a princess simply meant that you dressed beautifully, behaved elegantly, wore a crown and bossed your little brothers around :) Whenever I wanted to be a princess, I just wore my twirliest dress and taped a zig-zaggity piece of paper into a circle around my head. Now with my own brood yearning to recreate ye ol' ladies and knights of yore, I knew it was the perfect opportunity to bring back the old-fashioned princess costume. So here's a super easy princess costume for any little girl whose mommy feels a little nauseated and disturbed by the Disney Princess franchise.
Initially, her costume was going to consist of a baby party dress, robe with an ermine-esque collar and a tiara. (If she'd been old enough to wear one I would definitely have included an ermine-esque muff in the ensemble as well). But as the idea took root in my brain it evolved; and when I revisited Simple Simon & Co's Audrey Cape last week, the final costume emerged.

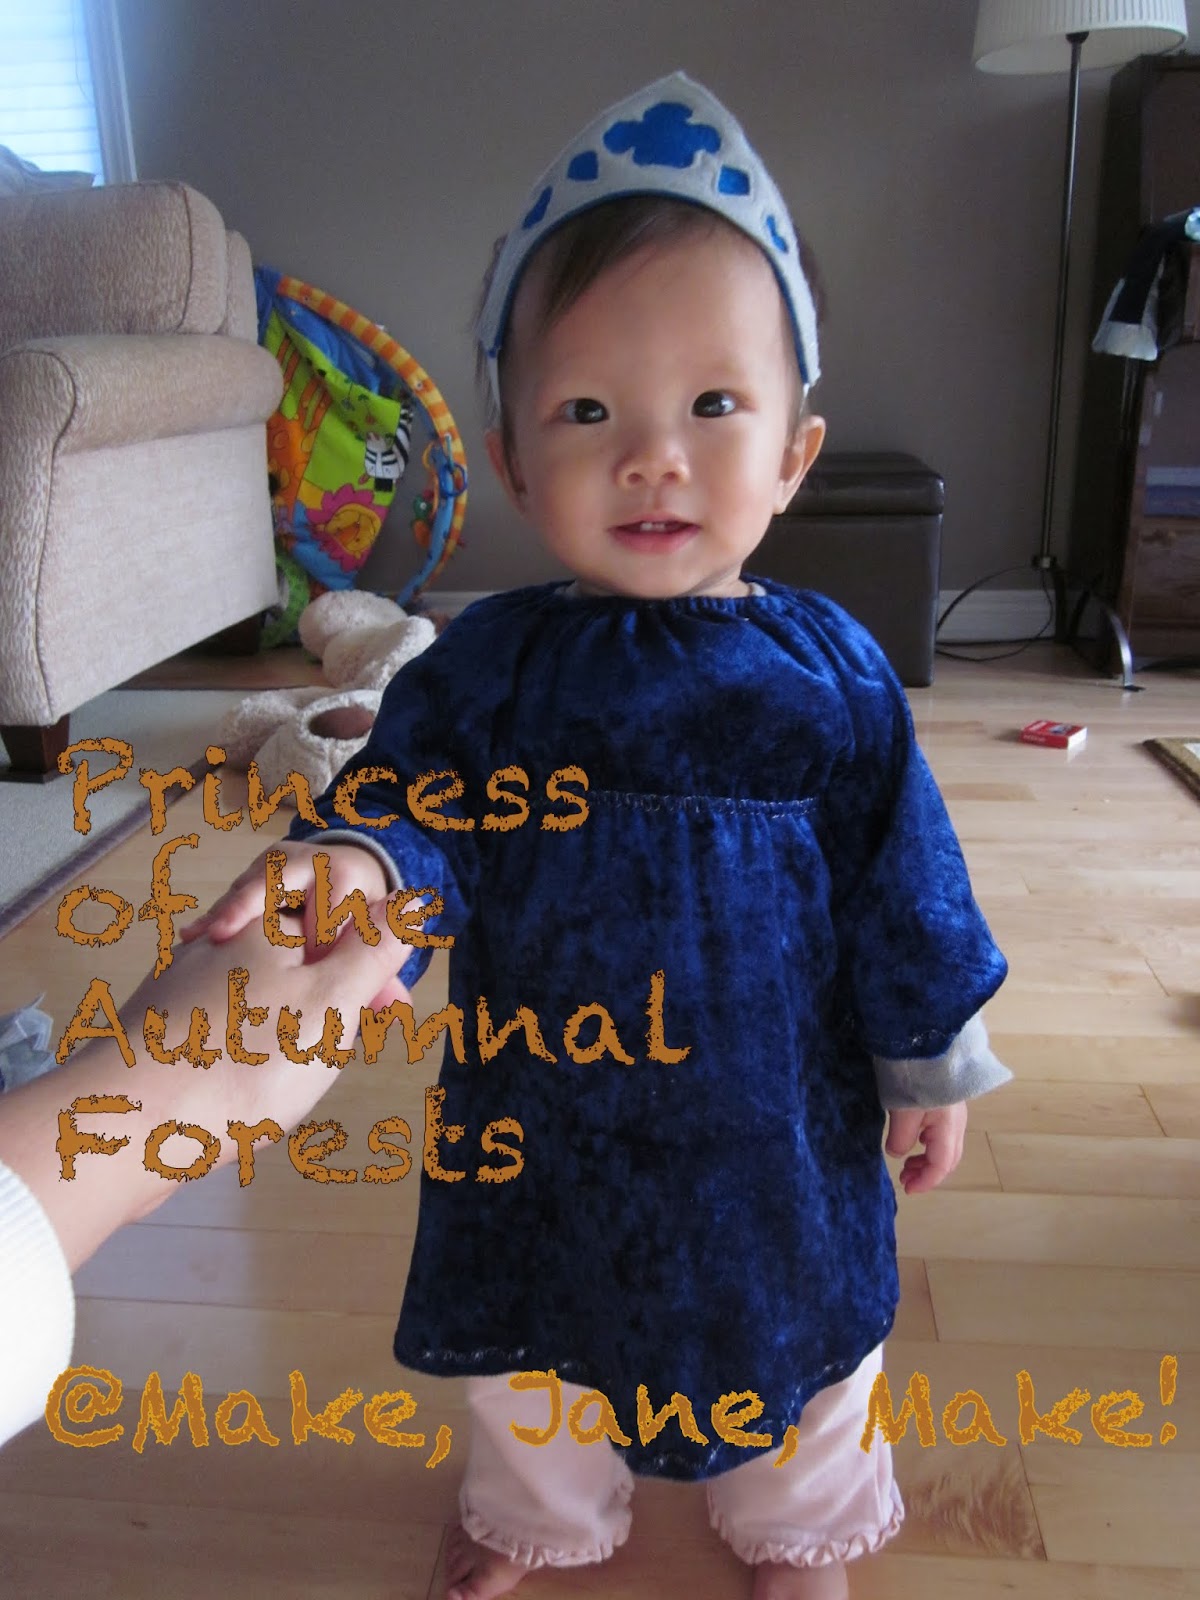
Party dress + Audrey cape + Felt Tiara Headband = super cute and functional princess costume
Using a dress (that probably has only had a couple of wears and is already lurking in your closet) makes this a fast DIY costume. The circle cape is so quick to put together, adds elegance and is practical for our cold Canadian climate. And the headband (tutorial here) stays on her head so much better than any plastic tiara... especially when your baby has no hair to attach those dollar store tiaras to.
So at this point, her costume should have been done... except I got a little keen and added this:

Now here is a princess costume that is suitable for little lady of cooler days, longer nights and falling leaves. And because I'm feeling so keen, here is a tutorial as well :)
~*^*~*^*~*^*~*^*~*^*~*^*~*^*~*^*~*^*~*^*~*^*~*^*~*^*~*^*~*^*~*^*~*^*~*^*~*^*~
(1) Using a shirt that fits your child well, trace around it and add a seam allowance to make a template for the body and sleeve of the dress with the following modifications...
- For the body: Extend the shirt in an a-line to make it into a dress and, instead of a neckline, cut the top of the dress straight across.
- For the sleeve: Widen the sleeve from shoulder to wrist to make it into a bell-bottom. Since bell-bottom sleeves can be awkward for a young child, you may want to make the sleeves slightly shorter than usual.
Don't want to draft your own pattern? Here's mine (with a 3/8-inch seam allowance, make sure to print it at 100%, no scaling). My daughter is almost a year old, but very small, so this would probably fit most 6 - 9 month olds.

(2) Cut 2 body pieces (dress front and back) on the fold and two sleeve pieces on the fold. (For the sleeves, the fold should correspond to the top of the arm and the cut side would correspond to the underarm).

(3) Attach the sleeves to the dress front and back. Before you open up the sleeve, use a pin to mark the centre (fold). Lay the dress front and back pieces out, wrong side up with the necklines facing each other. Unfold one sleeve and position it by its armhole.

Pin the sleeve into place. Leaving an inch gap on either side of the pin.

Sew it into place and repeat on the other side with the other sleeve. Overcast or serge as necessary.

(4) With both sleeves attached, match the dress front and back together, right sides facing and sew the arm and side seams on each side. Overcast or serge as necessary.

(5) Overcast or serge the neckline as necessary and fold it over by 1/2-inch to form a narrow casing for some elastic. Sew the casing down, leaving a small opening through which to thread the elastic.

(6) Insert the elastic for the neckline by attaching a safety pin to one end of the elastic, pulling it through the opening and sliding it all the way around. Sew together or tie off the ends of the elastic, tuck it in and sew up your opening. If you're not sure about the length of elastic you need, measure your baby's neckline and start with a piece of elastic that length... you can always tie it off if it's too long. I started with 12 inches of 3/8-inch elastic and after cinching it to fit my very petite baby, I probably ended up with about 10 inches.

(7) Attach some more 3/8-inch elastic just underneath the sleeves to create the empress waistline.

With the dress inside-out, pin the elastic into place, without stretching it and without cutting it off the spool (yet). Use a wide zig-zag stitch to form a casing for the elastic; the stitch you choose should be wide enough to go around either side of the elastic without going through it.
Note: In the above picture, I'm not using pins because I drew a line around the dress using some fade-away marker to keep me on the right track, which allowed me to skip the pinning... but definitely pin away if you want a more exact finish.


Once the waistline elastic casing is finished, you can pull the elastic tight, tie it off and cut it off the spool.

(8) Hem the sleeves and the bottom of the dress. (I used a pretty decorative stitch :)

And you're done! May I have your hand, milady?

p.s. If anything is missing in this tutorial, please leave me a comment and let me know. This is my first attempt at a comprehensive step-by-step for clothing, so go easy on me.
No comments:
Post a Comment