

Last year I made a really small version of this baby qipao for my daughter which she had almost outgrown by the time I finished it. (Darn it, infants grow much too fast!) This year, I used the leftover fabric and reprised the pattern to make a version that was actually a little too large. Ahh, frazzled mommy can never get anything right.
Anyway, when I was Googling around for some design inspiration, I noticed that there is a lack of resources for sewing a simple Chinese style dress for a girl, so I thought I'd document the process and, because there are a lot of pictures, present it in two parts.
(Find Part Two here).
Firstly, find a shirt that fits your child well. Fold it in half and trace around the bodice area (i.e. neck, shoulder, armhole minus the sleeve, armpit plus an inch or so below the armpit). Make sure to copy where both the front collar and back collar lie.
p.s. If you decide to use Chinese brocade style fabric, keep in mind that it does not have much stretch, so don't pick any tops that fit too snugly.

Using the tracing with the back neckline as a guide, add at least 1 inch to the centre back seam (this extra allowance will form a folded hem on which the snaps will be attached) and your preferred seam allowance to all the rest of the edges. Dotted line = original tracing. Solid line = Seam/Hem allowances included.

Using the tracing of the bodice with the front neckline as a guide, extend the front neckline in a straight line until it meets the bottom of the bodice. The front neckline does not need a hem allowance because it will be bound in bias tape. Add your preferred seam allowance to the other edges.

Cut two front and two back pieces out of your fabric. Make sure you make them mirror images :)

If you've decided to use brocade, you'll need to finish off the edges somehow to prevent fraying. You can serge or overcast all the edges (although the front neckline doesn't really need to be serged because it will be later encased in bias tape).
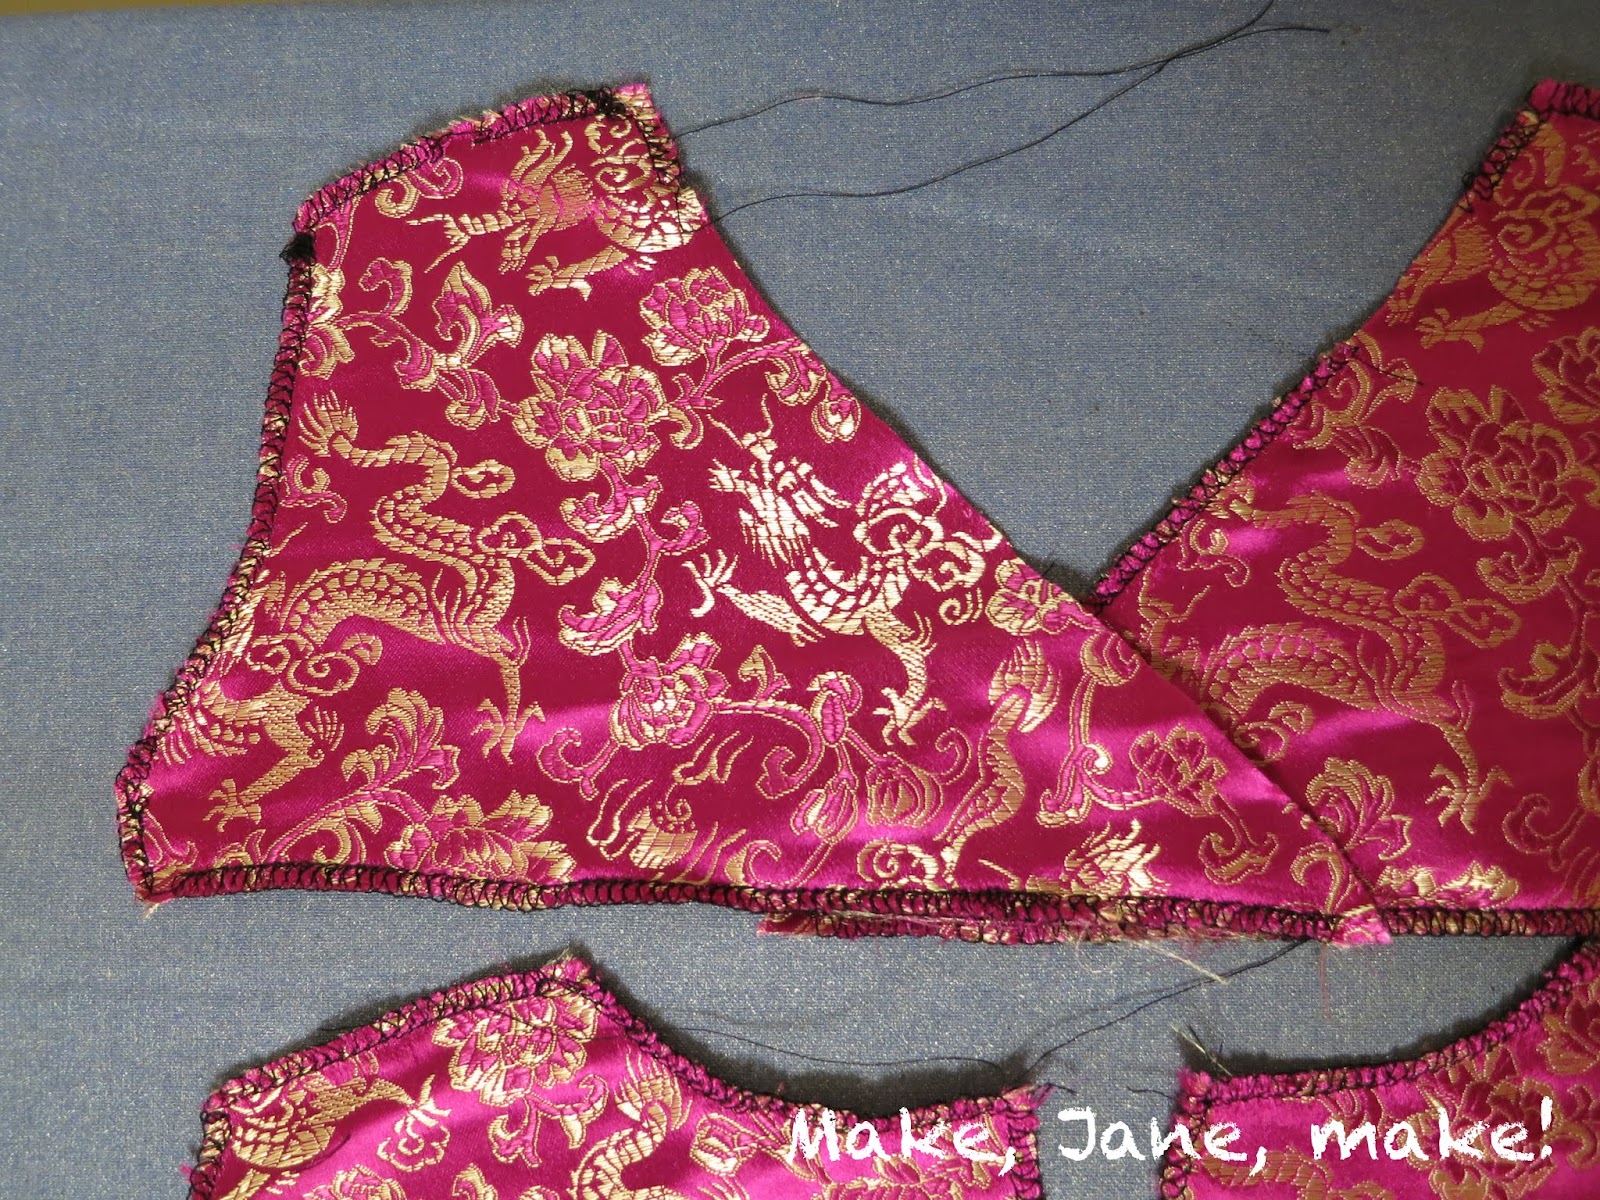
Sew the front pieces to the corresponding back pieces at the shoulders.

Now using one of your front/back pieces, design the sleeves by tracing around the curve of the armhole...

... and then drawing an exaggerated bell shape that encloses the curve you've traced. The more the top part of the bell extends above your curve, the more puffed the sleeve will be. The longer the bell extends beyond the bottom of your curve the longer your sleeve will be. You can see my design is not completely symmetrical which I was okay with. You could always fold the tracing in half and even yours out a bit.

Cut two sleeve pieces. Please iron your fabric and don't be a slob like me ;)

Sew a narrow hem on the bottom of the sleeve and serge/overcast the bell/cap of the sleeve. Again, don't follow my example and forget to overcast here.

Sew a basting stitch along the top of the bell and gather it to make the puffed sleeve.

Ease and pin the sleeve into the armhole by adjusting the gathers and sew into place.

Repeat for the other sleeve and you'll end up with two mirror image pieces that look like this:

Finally, breathe because I'm going to pause here too and save the rest for the next instalment. Stay tuned...
No comments:
Post a Comment